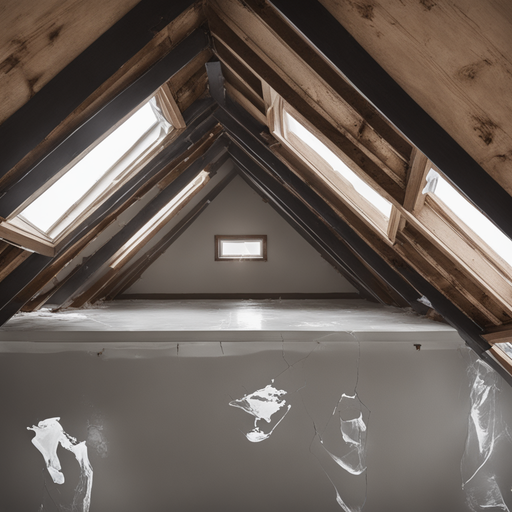
Roof-top Revelations: Deciphering the Drips
It’s noteworthy to mention that Charily tiptoeing around your house with a can of sealant, hunting for elusive residential roof leaks, needn’t be your favorite pastime. Before the soggy ceiling spots turn your home into the set of a low-budget aquatic horror, let’s launch into action. So, sit back, grab a hot cup of your favorite beverage and immerse yourself in the riveting saga of decoding the dripping puzzle and preventing roof leaks.
According to a revelation by the National Roofing Contractors Association, around 70% of roof leaks transpire in valleys, flashing and intersections between two roofs. Now, armed with the snippets of these splashy truths, let’s plunge into our home maintenance guide.
Shining the Spotlight on Scuffed-up Shingles
Bear in mind, folks, your roof talks in a simple, leaky language. If you’re seeing Stalactites hanging from your ceiling, it’s high time to bust out your roof inspection checklist. Observe the club of the International Association of Certified Home Inspectors who state that leaks commonly crop up owing to battered shingles. Alas, it’s usually our dear Mother Nature who plays villain, churning out severe weather conditions that bruise and thrash your shingles.
So, here’s your DIY Leak Detection Technique to ease you into this:
1. Get a ladder, don your detective hat and inspect your shingles for visible damage.
2. A crack here or a curl there is a telltale sign of a leak in the making, shout Eureka when you spot one!
3. Observe the flashing, gutter and chimney – these sneaky places hold water like few others.
Don’t Play the Blame Game with Your Roofing Products
Water Damage Defense attests that nearly 90% of all residential roof leaks owe their existence to defective metal flashing or improper installation. Rarely is the blame to be placed at the doorstep of the roofing products themselves. Now that we’ve dished out this essential roof repair tip, let’s proceed with equipping you to tackle this.
1. Don’t resort to point fingers at your roofing materials; instead, inspect the flashing.
2. Keenly observe the joints of the roof and the walls.
3. If metal flashing seems to be the problem, best contact the professionals.
When the Ceiling is Silently Screaming
Spotting ceiling damage signs can save you not just a bucket-load of money but also the headache of a full-blown home reparation. A sagging ceiling or discolored patches are the ceiling’s SOS signals. Now, it’s time to call upon Pro Roofing USA of FL.
Frequently Asked Questions
What signals should I look for in my ceiling?
Look for discolored patches, an unusual sag, or damp spots on the ceiling. These are precursors to a leaking roof.
Can weather have an impact on my roof?
Absolutely! Harsh weather conditions, in fact, often bear the blame for damaged shingles leading to leaks.
Is professional inspection necessary for roof leaks?
While some DIY Leak Detection Techniques can be helpful, to ensure longevity, it is often recommended to get a professional inspection done at regular intervals.
The Curtain Call to Roof Leak Detection
On an ending note, there’s no need to be a damsel or dude in leak-distress. This mesmerizing melodrama of leaks and streaks can be effortlessly curbed. Remember, with early vigilance and detection, you’ll be leapfrogging any small issue before it snowballs into a larger problem. Now that you’re armed with the ‘how-to’ of detecting leaks in your residential roof, it’s time to stay vigilant and ensure your roof remains watertight! So, here’s to fewer shingle jingles and leaky jumbles!


